The way most people handle passwords is to memorize a few common ones and reuse them everywhere. The problem with that is: if any one of those services gets breached, attackers can try the same credentials on all your other accounts. This post covers how I manage all my accounts using three layers of protection — a password manager, two-factor authentication, and passkeys — and how I pair them with Raycast to make the day-to-day experience smooth.
Why You Need a Password Manager
First, let’s talk about what goes wrong without one:
Password reuse: The human brain can only hold so many passwords, so most people end up using the same credentials across different sites. The problem is that data breaches happen every day. The moment any one service’s database gets compromised, attackers can use your email and password to try logging into other services — this is called a Credential Stuffing attack.
Weak passwords: For the sake of memorability, most people use birthdays, names, or common word combinations — things that are trivially easy to guess. These passwords offer almost no resistance against brute force.
The core value of a password manager is that you only need to remember one master password. Every other account’s password is generated, stored, and auto-filled by the manager. Each site gets its own randomly generated, high-entropy password that you never have to remember or reuse.
Bitwarden
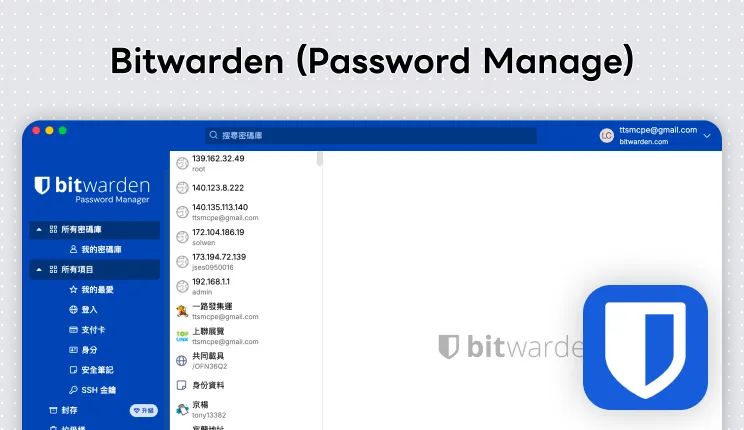
I chose Bitwarden for straightforward reasons: it’s open source, cross-platform, and the free tier is enough for everything I need.
The two most-compared password managers are 1Password and Bitwarden. 1Password has a more polished interface, but it’s subscription-only and not open source. Bitwarden’s free plan covers everything I need — unlimited password storage, cross-device sync, autofill, and a password generator. The open-source part also matters to me: it means the security can be audited by the community, not just taken on the company’s word.
Folder Organization
Bitwarden supports folders for organizing accounts. I use two-digit prefixes with category names, grouped by purpose:
01 - Social Media/
02 - Work/
03 - Finance/
04 - Dev Tools/
05 - Shopping/
06 - Entertainment/
The point of this categorization isn’t for browsing (I almost always search directly), but for periodic reviews — scanning through a specific category to spot accounts that are no longer in use and need to be cleaned up.
Day-to-Day Usage
In daily use, Bitwarden lives in the browser as an extension. When you open a login page, it detects the matching account and autofills with a single click. For new accounts, just let Bitwarden generate a random password during registration — it’ll automatically prompt you to save it. No manual copy-pasting needed.
Free to use, advanced features require a subscription Official WebsiteTwo-Factor Authentication (2FA)
A password manager solves the “weak password” and “password reuse” problems. But passwords alone still aren’t enough. If someone gets hold of your password through phishing or other means, they can still log straight into your account. Two-factor authentication adds another layer: in addition to a password, you also need a six-digit code that an authenticator app generates in real time.
Why Not Use the Built-In 2FA in a Password Manager
Bitwarden’s paid plan includes a built-in TOTP code feature, but I choose to manage 2FA with a separate app. The reason: if both your password and 2FA codes are in the same place, you’ve effectively collapsed two layers of protection into one. If your Bitwarden account gets compromised, the attacker gets both. Keeping them separate means even if one gets broken, the other still holds.
Ente Auth
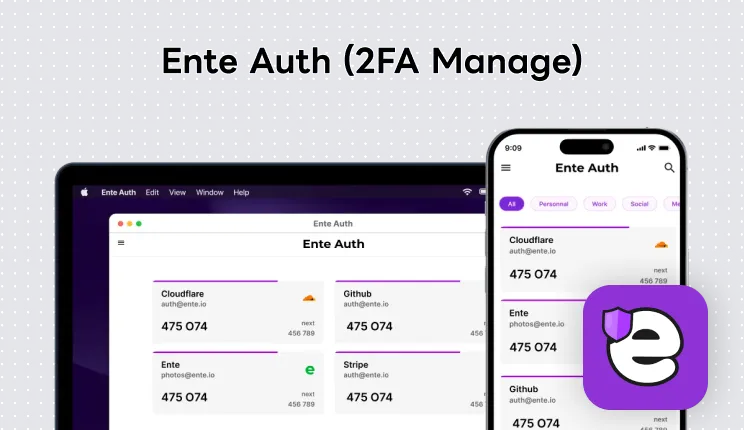
Ente Auth is the 2FA authenticator I currently use. Here’s why I picked it:
- Open source: Like Bitwarden, the code is publicly auditable.
- End-to-end encrypted backups: All 2FA keys are encrypted and backed up to Ente’s cloud. When you switch phones, you don’t have to scan every QR code again. This was Google Authenticator’s biggest pain point — switching phones used to mean resetting all your 2FA.
- Cross-platform: Supports iOS, Android, macOS, Windows, Linux, and a web version. You can access codes from any device.
- Tag organization: You can use tags to categorize 2FA accounts. I follow the same naming scheme as my Bitwarden folders, keeping both systems in sync.
Using it is intuitive: scan the QR code when enabling 2FA on a website, then whenever you log in, open Ente Auth and copy the six-digit code.
Free Official WebsitePasskeys
Passkeys are a newer login method that replaces passwords. Instead of typing a password, you verify your identity using biometrics (fingerprint, Face ID) or a device PIN. Because no password is transmitted over the network during this process, there’s no risk of a password being phished or leaked.
Why I Store Passkeys in Bitwarden
Passkeys can be stored locally on a device (like in iCloud Keychain on iPhone), but that ties them to a specific ecosystem. I store passkeys in Bitwarden so that no matter what device or platform I’m on, I can use them through Bitwarden. It’s also easier to manage — all account credentials and passkeys are in one place, not scattered across different keychains.
Android Limitations
There’s currently a significant limitation with passkeys on Android: the official Bitwarden Android app doesn’t yet support acting as a passkey provider. On Android, using passkeys locks you into Google Password Manager — you can’t choose Bitwarden to manage them. That means if you have an Android device, passkeys end up split between Google and Bitwarden, which isn’t ideal to manage.
Raycast Integration
I use Raycast as my launcher on Mac. Both Bitwarden and Ente Auth have Raycast plugins, so I can search for account credentials and 2FA codes directly from Raycast without opening either app.
Bitwarden Plugin
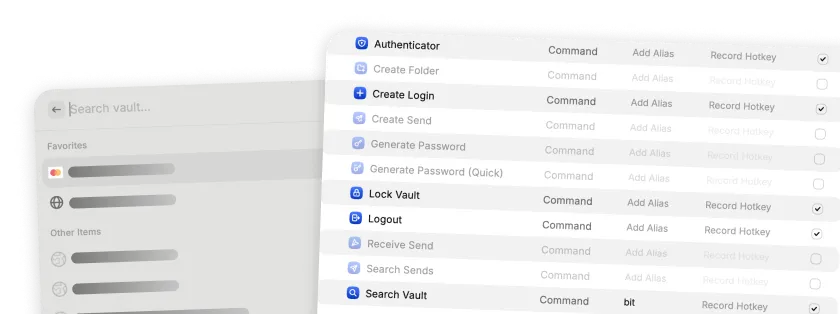
The Bitwarden Raycast plugin requires the Bitwarden CLI and an API key to work.
Install Bitwarden CLI
The plugin communicates with your Bitwarden vault through the CLI. On first launch, the plugin will automatically download the CLI — or you can install it yourself via Homebrew or npm and point the plugin to its path in settings.
Get Your API Key
Go to the Bitwarden web app under Settings → Security → Keys, and click “View API Key” to get your client_id and client_secret.
Configure the Plugin
Enter the API key in the plugin settings on first use. After that, you can access your vault directly from Raycast. Once it’s set up: hit the Raycast shortcut, type a few characters to search, press Enter to copy the password. The whole thing takes under three seconds.
Ente Auth Plugin
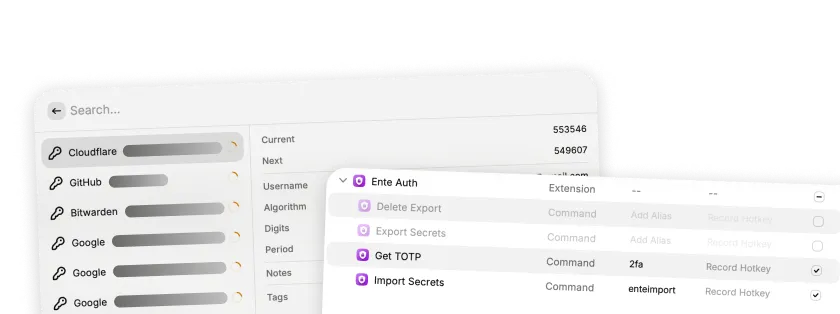
The Ente Auth Raycast integration works a bit differently. You can’t connect directly via API like you can with Bitwarden — you first need to export your 2FA data using the Ente CLI, then have the Raycast plugin import it.
Install Ente CLI
The fastest way is via Homebrew: run brew install ente-cli and you’re done.
Log In to Ente
In the terminal, run ente account add, select auth as the app type, enter your Ente credentials, and set an export directory (e.g. ~/Documents/ente).
Configure the Raycast Plugin
In the plugin settings, point “Ente CLI Export Location” to the export directory you just set.
Import Secrets
Run the “Import Secrets” command in Raycast. The plugin will export your 2FA keys via the Ente CLI and store them in Raycast’s encrypted database. Once that’s done, searching a service name in Raycast shows you the live six-digit code — the same one you’d see in the Ente Auth app.
Security Tips
Choosing the right tools is only part of it — how you use them matters too. A few security principles I actually follow:
Setting Your Master Password
The master password is the last line of defense for the whole system. If it gets cracked, every stored password is exposed. So it has to be strong:
- At least 16 characters: Length matters more than complexity. A random 16-character password is far more secure than a “complex” 8-character one.
- No personal information: No birthdays, names, or phone numbers.
Day-to-Day Habits
- Periodically review your account list: Every few months, scan through Bitwarden and remove or deactivate services you no longer use. Fewer accounts means a smaller attack surface.
- Watch out for phishing sites: Bitwarden’s autofill is actually a layer of protection here — if you land on a phishing site, Bitwarden won’t suggest auto-filling because the domain doesn’t match. If the expected autofill doesn’t appear, check the URL first.
- Never log into Bitwarden on a shared computer: Signing into your password manager on someone else’s computer is essentially handing over every password you have to an environment you can’t control. Never do it.
Account Setup Workflow
Finally, here’s my complete flow when registering a new account:
1. Register the Account
Use Bitwarden’s password generator to create a random password. Bitwarden will automatically prompt you to save it.
2. Assign to a Folder
Move the new account into the appropriate folder category in Bitwarden.
3. Set Up 2FA
If the service supports two-factor authentication, go to its security settings and enable it. Scan the QR code with Ente Auth.
4. Set Up a Passkey
If the service supports passkeys, set one up and save it in Bitwarden.
5. Update Raycast
If you added a new 2FA account, run “Import Secrets” in Raycast to sync the plugin.
This might look like a lot of steps, but in practice it takes about two minutes per new account. The key is to do the same steps every time and let it become a habit — instead of asking yourself “should I set up 2FA for this one?” each time. The answer is: if the service supports it, always set it up.