The hard part of full-stack development on Mac is usually not a lack of tools. It is what happens after every layer grows its own habits: code in VS Code, AI development in Claude Code, terminal work somewhere else, containers inside Docker Desktop. After a while, the time sink is not writing code. It is switching between tools and keeping state consistent.
My conclusion is that a Mac setup for AI engineers should start by separating the layers, then picking tools for each one. Editors handle reading and writing code, AI tools handle collaboration and review, terminals handle execution and automation, and containers plus design tools support the surrounding development workflow.
Core Logic: Split Dev Tools into Four Layers
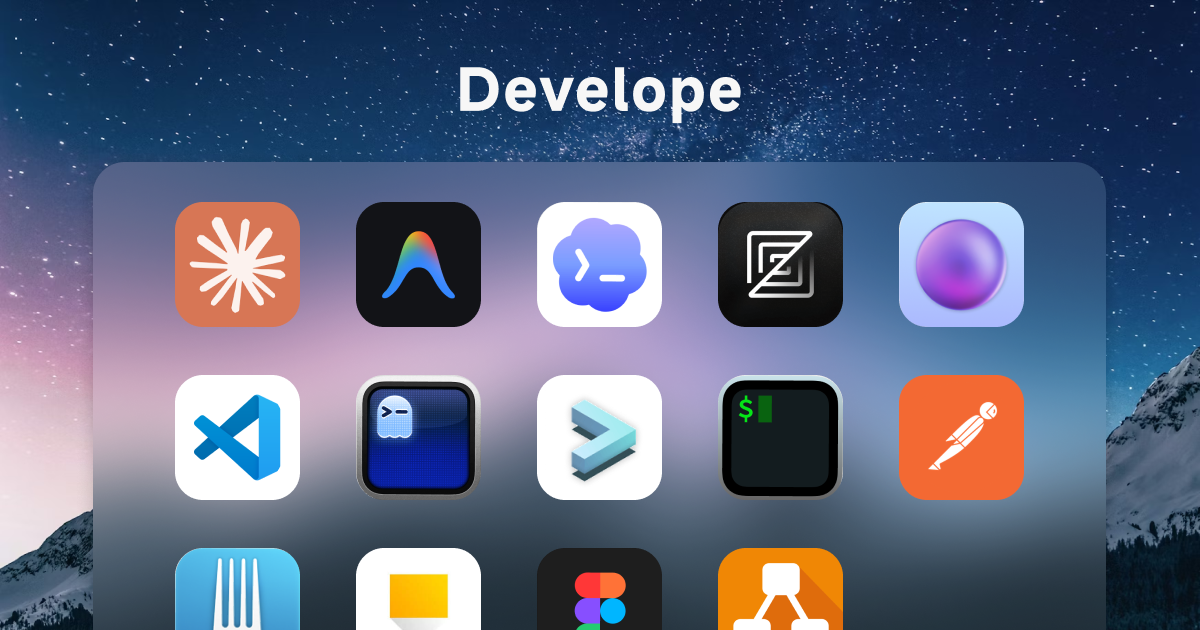
I separate my Mac dev tools into four layers. The first is the place where code gets written: VS Code and Zed. The second is the AI collaboration layer: Claude Code, Codex, and CodexBar. The third is the execution environment: terminal, shell, Git, and containers. The fourth is delivery support: Postman, Figma, Pencil, and draw.io.
Once the tools are split this way, the article stops being just a list. Each tool has a role in the workflow. VS Code does not need to replace the terminal, and Claude Code does not need to replace every IDE. They each own part of the process, and together they form a stable development environment.
Editors and IDEs
Zed
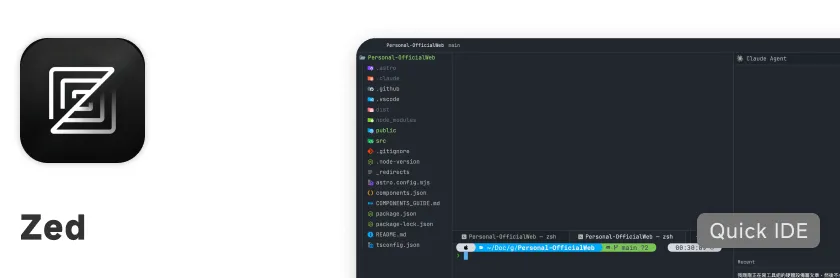
The editor I reach for when I need to quickly browse through code. It’s written in Rust, so it starts up incredibly fast — a full project opens in a couple of seconds. Since VS Code can get noticeably slower to launch once you’ve installed a bunch of plugins, I’ll open Zed first for a quick look, then switch to VS Code when I need to do more detailed editing or debugging.
Free Official Website— or —
brew install --cask zedVS Code
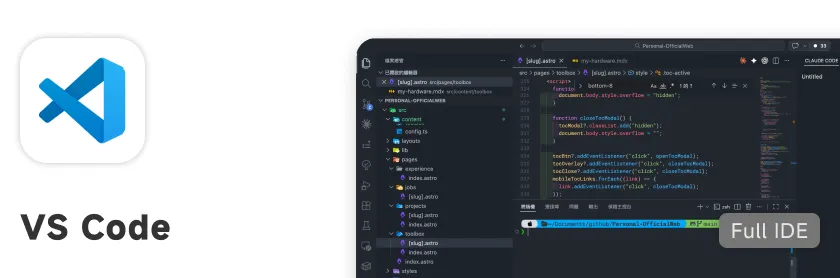
My main code editor — most of my development work happens here. The biggest advantage is its plugin ecosystem, which is incredibly rich. Whether it’s Python or frontend work, you can always find great packages for whatever you need. When I need to dig deep into code and use a full suite of tools, VS Code is still my first choice.
Free Official Website Further Reading: VS Code Extension Recommendations— or —
brew install --cask visual-studio-codeAI Dev Tools
Claude Code
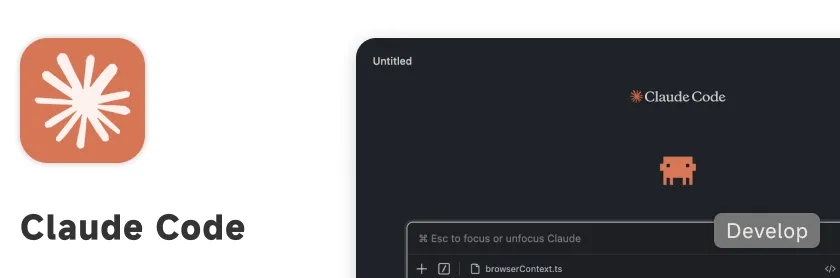
The AI tool I rely on most heavily for development right now. I mainly use the Opus model. In terms of the balance between speed and output quality, it’s the model that personally feels the most comfortable to work with.
How I Use It
Basically, I open it through VS Code or the terminal and work inside a specific project directory. Daily coding, refactoring, and debugging can all be done directly within it.
Review Workflow
When I need to do a code review, I clear its memory so it approaches the codebase fresh. This avoids having previous conversation context influence its judgment — the review results end up being much more objective that way.
Subscription or pay-as-you-go Official Website Further Reading: My Claude Code Setup Notes— or —
npm install -g @anthropic-ai/claude-codeCodex
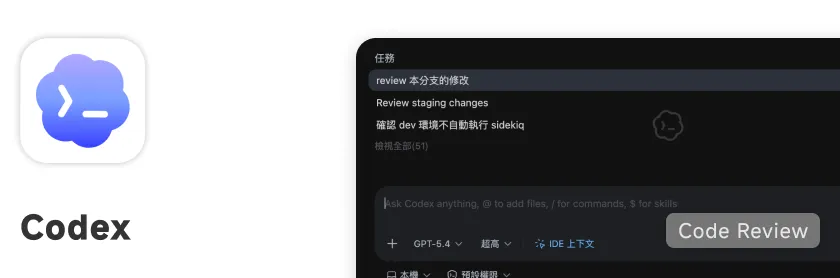
OpenAI’s AI dev tool. I mainly use it for code review.
Review Workflow
My flow is: after Claude Code finishes development, I have Codex look at all the changes on the branch. I bump its reasoning mode up to the highest level, have it read through the entire diff carefully, and then produce a review report on the code.
I then feed that report back to Claude Code for fixes, going back and forth until Codex’s review comes back clean. It’s essentially using two different AIs to cross-check each other — the code quality ends up being noticeably better than relying on a single model.
Subscription or pay-as-you-go Official Website Further Reading: My AI Tools Strategy— or —
npm install -g @openai/codexAntigravity
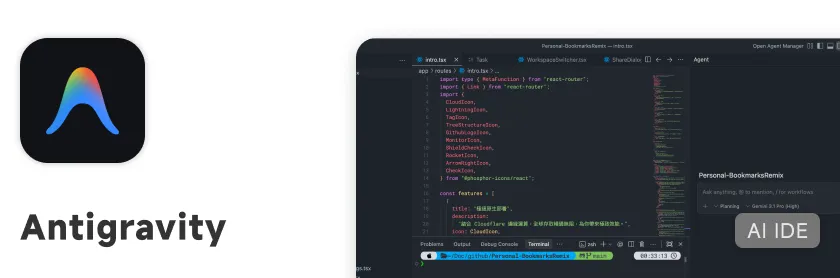
Google’s AI IDE, which comes bundled with some Claude usage credits. I treat it more as a backup tool — I’ll switch to it when I need AI assistance but my primary tools aren’t convenient to use.
App is free, AI features require a subscription Official Website Further Reading: My AI Tools StrategyCodexBar
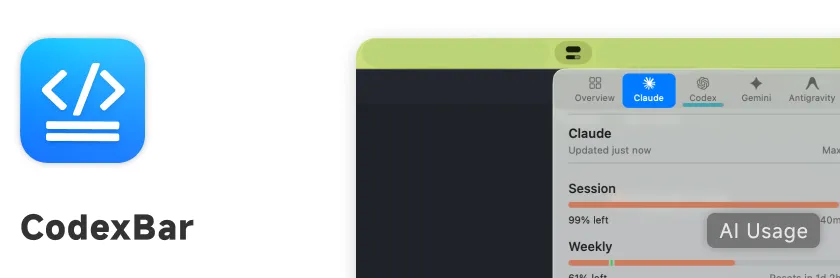
A menu bar app that shows you the real-time usage status of various AI services — Claude, Codex, Gemini, Antigravity — including session and weekly quota remaining. You don’t have to log into each platform separately to check your usage. For anyone juggling multiple AI services, this is a huge convenience.
If you are past checking usage and need to rotate multiple Claude and Codex accounts, I wrote the actual setup in my multi-account Claude and Codex workflow.
Free Official Website— or —
brew install --cask steipete/tap/codexbarTerminal and Shell
Tabby
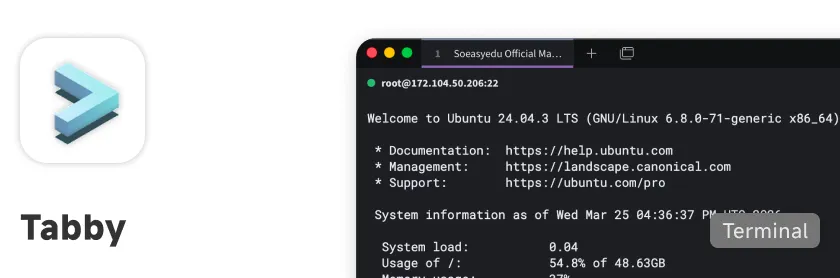
The terminal I use for managing SSH connections. It works out of the box without much configuration, and SSH management is straightforward. You can save frequently used server connections as profiles so you don’t have to type everything in manually each time.
Raycast Integration
Tabby has a Raycast plugin, so I can browse my saved SSH profiles directly from Raycast and connect with a single Enter key — no need to open Tabby first and hunt for the profile. The whole flow takes just a few seconds.
Open source, free Official Website— or —
brew install --cask tabbyGhostty
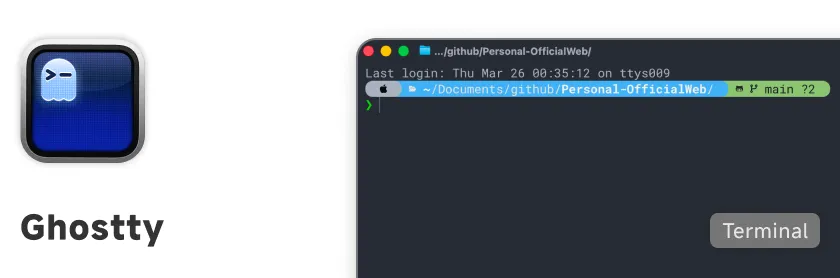
I use this one a lot alongside Claude Code. It tends to have fewer display glitches, and the overall performance is solid.
Raycast Integration
Ghostty also has a Raycast plugin that lets you open a terminal directly from whatever folder you’re currently in on Finder — no more manually cd-ing to the right path. Saves a lot of steps.
— or —
brew install --cask ghosttyiTerm2 + Oh My Zsh + Powerlevel10k
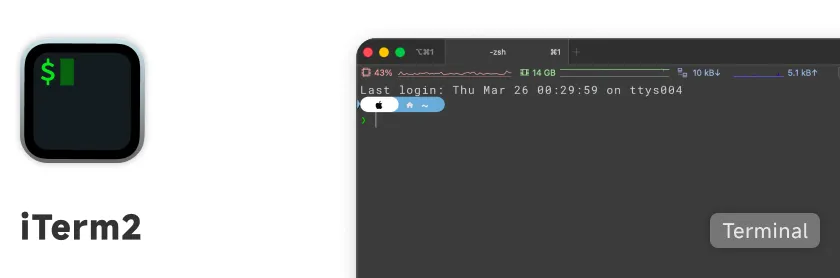
iTerm2 was the first terminal I ever used. Paired with Oh My Zsh’s plugin ecosystem and the Powerlevel10k theme, the experience and aesthetics are both great.
The level of customization is enormous — you can tweak practically everything to your liking. That said, because it’s so feature-rich, it’s better suited for people willing to spend time tuning it. Compared to Ghostty and Tabby, the barrier to entry is a bit higher.
Open source, free Official Website— or —
brew install --cask iterm2Version Control and Git
Fork
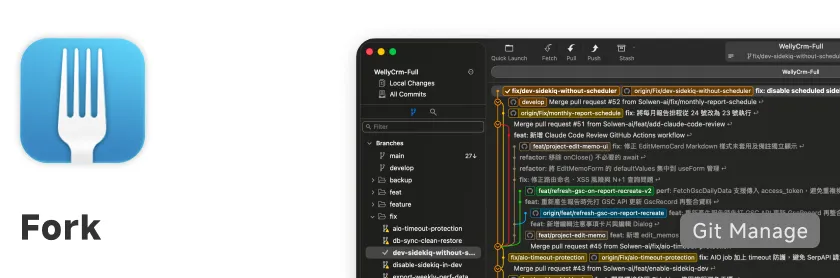
The Git GUI I use. Clean interface, smooth to operate. Compared to pure command line, it’s much more intuitive when dealing with complex branch operations, reviewing diffs, or resolving conflicts.
Paid (one-time purchase, with a free evaluation version) Official WebsiteContainers and Virtualization
OrbStack
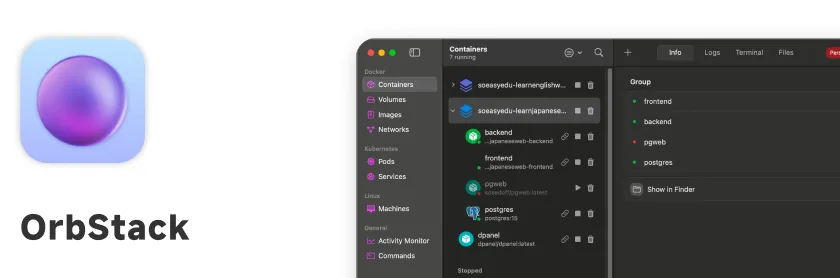
The container tool I use as a replacement for Docker Desktop.
Performance and Resource Usage
Compared to Docker Desktop, OrbStack uses significantly fewer resources and starts up much faster. Running containers on Mac doesn’t eat up nearly as much memory as Docker Desktop does — the whole experience feels much lighter.
I also wrote a dedicated OrbStack replacement note that breaks down why the difference is so noticeable on Apple Silicon.
Clean UI
The interface is cleaner than Docker Desktop. When you’re reading logs or checking service status, everything is clearer and easier to navigate without getting lost in a sea of features you don’t use.
Free for personal use, commercial use requires payment Official Website— or —
brew install --cask orbstackAPI and Testing
Postman
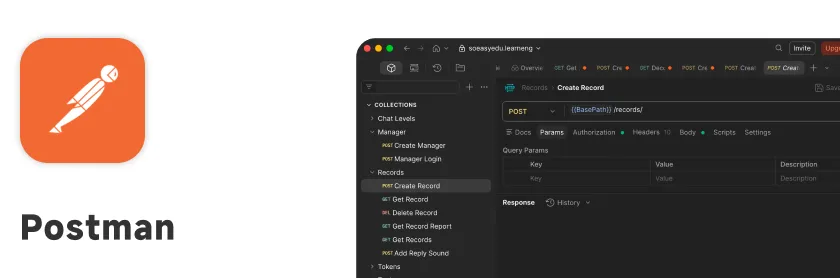
A long-established API debugging tool. The free version is already very capable — you’re really only missing some team collaboration features.
Collection Management
You can organize all the API endpoints for a specific project into a Collection, making it easy to categorize and repeatedly test them without re-entering everything each time.
Variables and Automation
It supports Variables, which you can pair with Scripts for automated workflows. For example, after running a login script, the token gets automatically stored in a variable that other API requests can reference for authentication — no manual copy-pasting needed. The whole flow is very smooth.
Free to use, team features require a subscription Official Website— or —
brew install --cask postmanDesign and Prototyping
draw.io
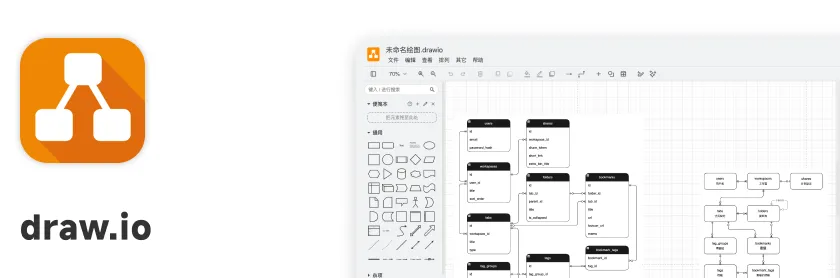
A great offline diagramming tool for solo use. I mainly use it for designing and drawing database schemas. It has an enormous built-in shape library — you can easily drag together all kinds of diagrams — and there are tons of adjustable settings. If you’re willing to spend time on the finer details, you can build virtually any diagram you can imagine.
Free Official Website— or —
brew install --cask drawioFigma
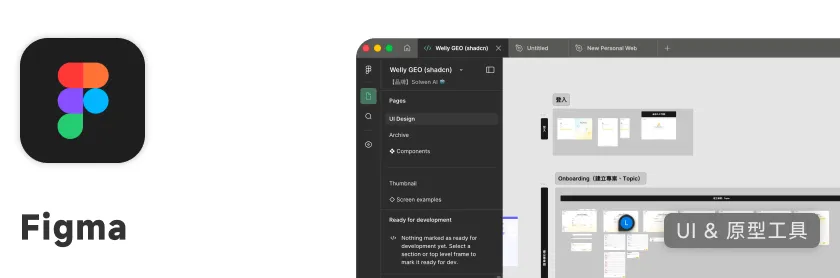
A long-established UI design tool — it’s the one I’ve used the longest.
Atomic Design
Beyond basic UI drawing, Figma’s component system makes it an excellent tool for implementing Atomic Design. This approach lets me produce more structured, well-documented design files that are much easier to maintain systematically.
MCP Integration and AI Handoff
The latest Figma also connects with MCP and AI. When working with component libraries like shadcn/ui, the design values in Figma can map directly to Tailwind values, making the transition from design to development much smoother.
Free to use, advanced features require a subscription Official Website Further Reading: Mac Software — Design Edition— or —
brew install --cask figmaPencil
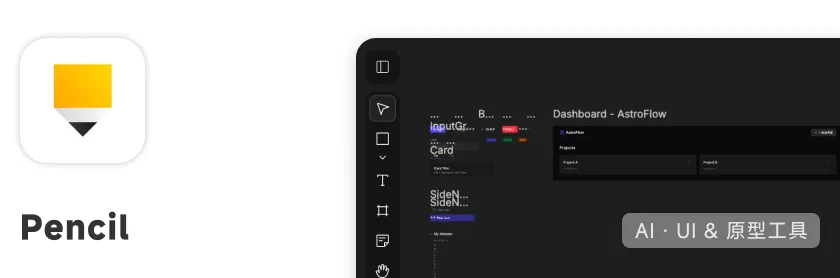
An AI UI design tool that works more like a VS Code plugin. You describe what you want in text and the AI builds the design — the interaction is more direct and intuitive than Figma. I mainly use it by letting AI handle the drawing, then reviewing the output. I rarely go in to make detailed edits myself.
Free to use, some features require payment Official Website Further Reading: Mac Software — Design Edition